
HBIM to VR: Custom Floor Textures
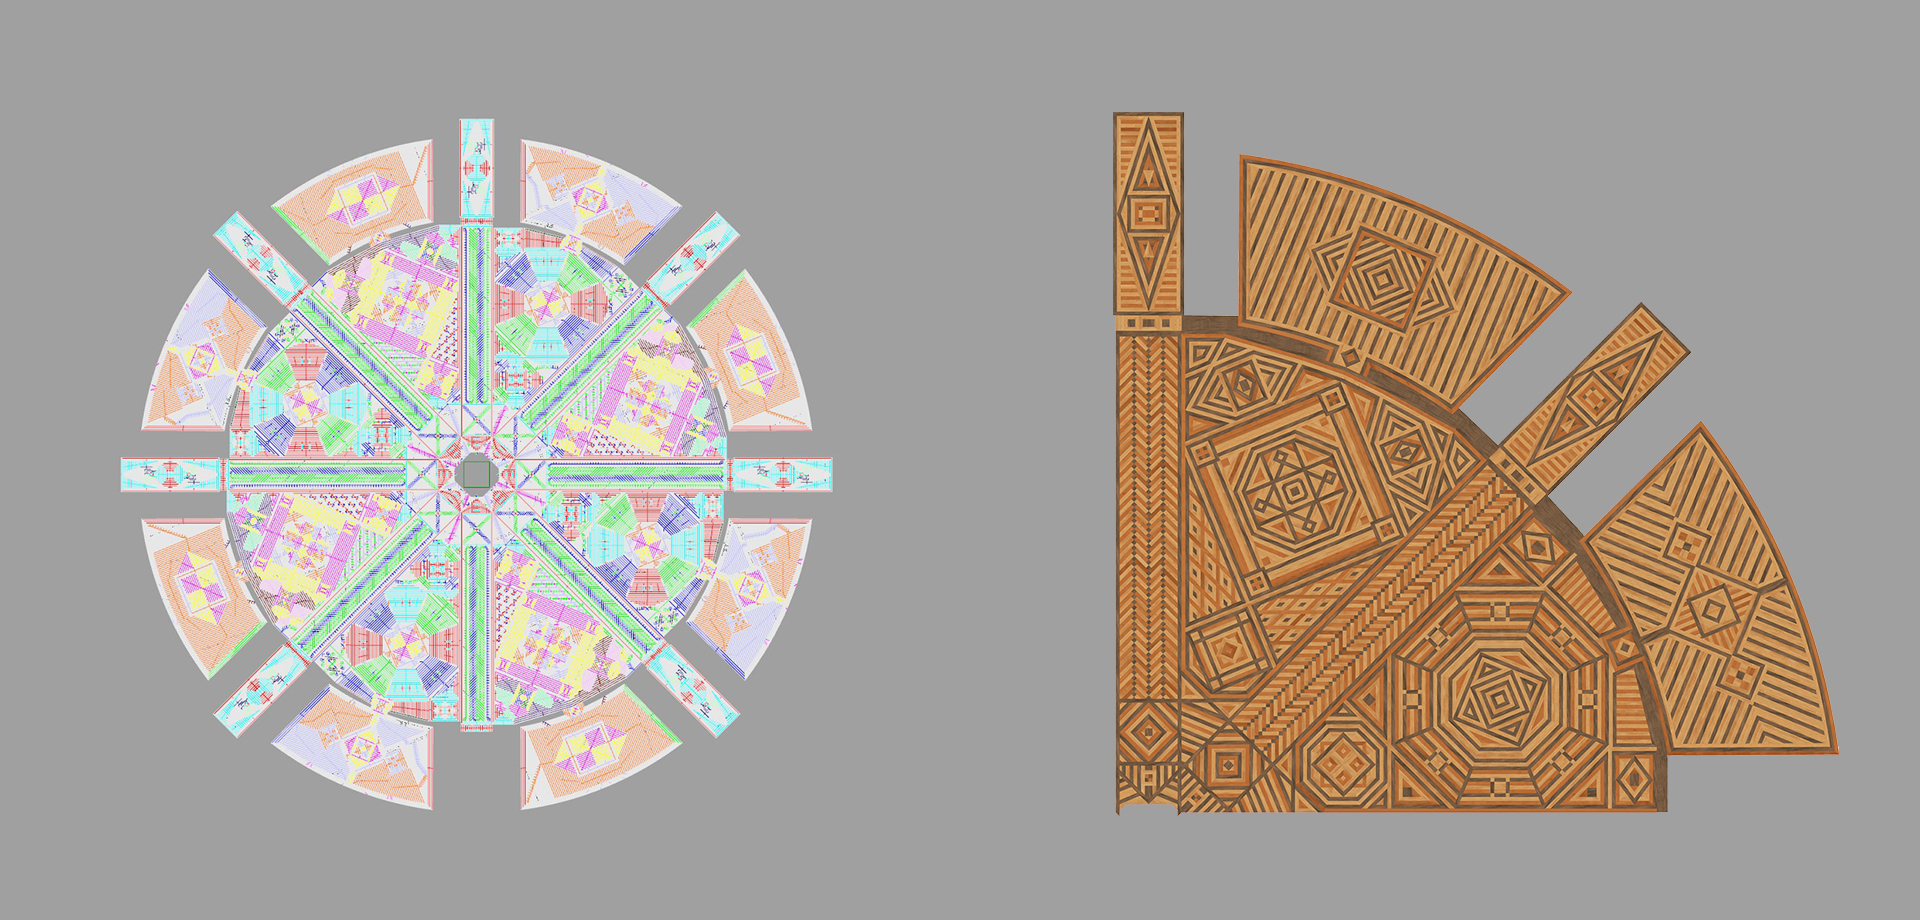
This week, we highlight an approach of floor texturing for the Library of Parliament as an example of some of the hidden workflows and tools that accompany our translation between Revit and Unity. As we have shown the past two weeks, visualizing a HBIM in VR has been far from a simple export-import scenario. The difficulty experienced in this scenario is that while Revit floors are best modelled as a single object with a consistent material assembly for easy operation, this does not allow for a realistic texture mapping of the actual floor in VR. The way we modelled the floors involved a combination of laser scan data of the rooms and google street view from within the building. The first step was to insert the overall shape of the floor into Rhino that comes direct from the Revit export. Then using the provided images, the floor is divided into areas of that same texture. For instance, the 3 common materials of the floor are marble, stone and carpet.

Within Rhino, different floor areas were traced onto the original Revit floor object and divided according to its texture. The textures were then individually applied to those areas and adjusted as needed to fit the look of the real condition of the building (with the right amount and size of tiles for example). As such, the model can be rendered to create a unified texture with corresponding normal values (direction of application to the mesh surface), albedos (the basic color of the surface) and height maps (grayscale values converted into an offset value to add surface deviation). When textures are initially brought in to colour each tile/area, they are also premade to fit the correct look of the material (ex. tiles/carpet) which means each had to be modified to have a different shine level depending on the material as well as with its own normal, albedo and height maps.


Some floors and ceiling patterns within the Centre Block do not have much detail and could thus rely on only minor differences in texturing. In most cases however, the scenarios were complex and required a full remodelling with each tile drawn individually. These types required the modelling of a physical seem in order to give a more realistic look. Therefore, after outlining the textures using the line tool, the lines are offset a few millimetres and used to cut the floor into tiles to create a specific pattern. Then the 4-7mm seems are patched back but with a slight indentation that would allow them to seem deeper giving the desired realistic affect.
