
Evidence Modelling Continued... or How to Not Get Away With Murder
In the winter of 2020, the Crown Attorney asked us to create a 3D anatomical model of a victim’s body again with 3D mapped internal and external injuries. This case involved over 50 internal injuries highlighted in a detailed postmortem report. A series of unlabeled photographs were provided to identify them. This open box of many injuries required us to deeply analyze the evidence before creating the model. In this case, much of the initial efforts went into evidence analysis.
The team first began with the evidence photos and began to link the injury list in the postmortem using excel to cross reference the two sets of data. One of the challenges of this was that some of the injuries spanned across multiple body areas and parts and were difficult to understand with only one photograph. Because a clear understanding of the relation between injuries was an important aspect for the Crown Attorney’s story in this case, we needed to organize all injuries according to body part very clearly.

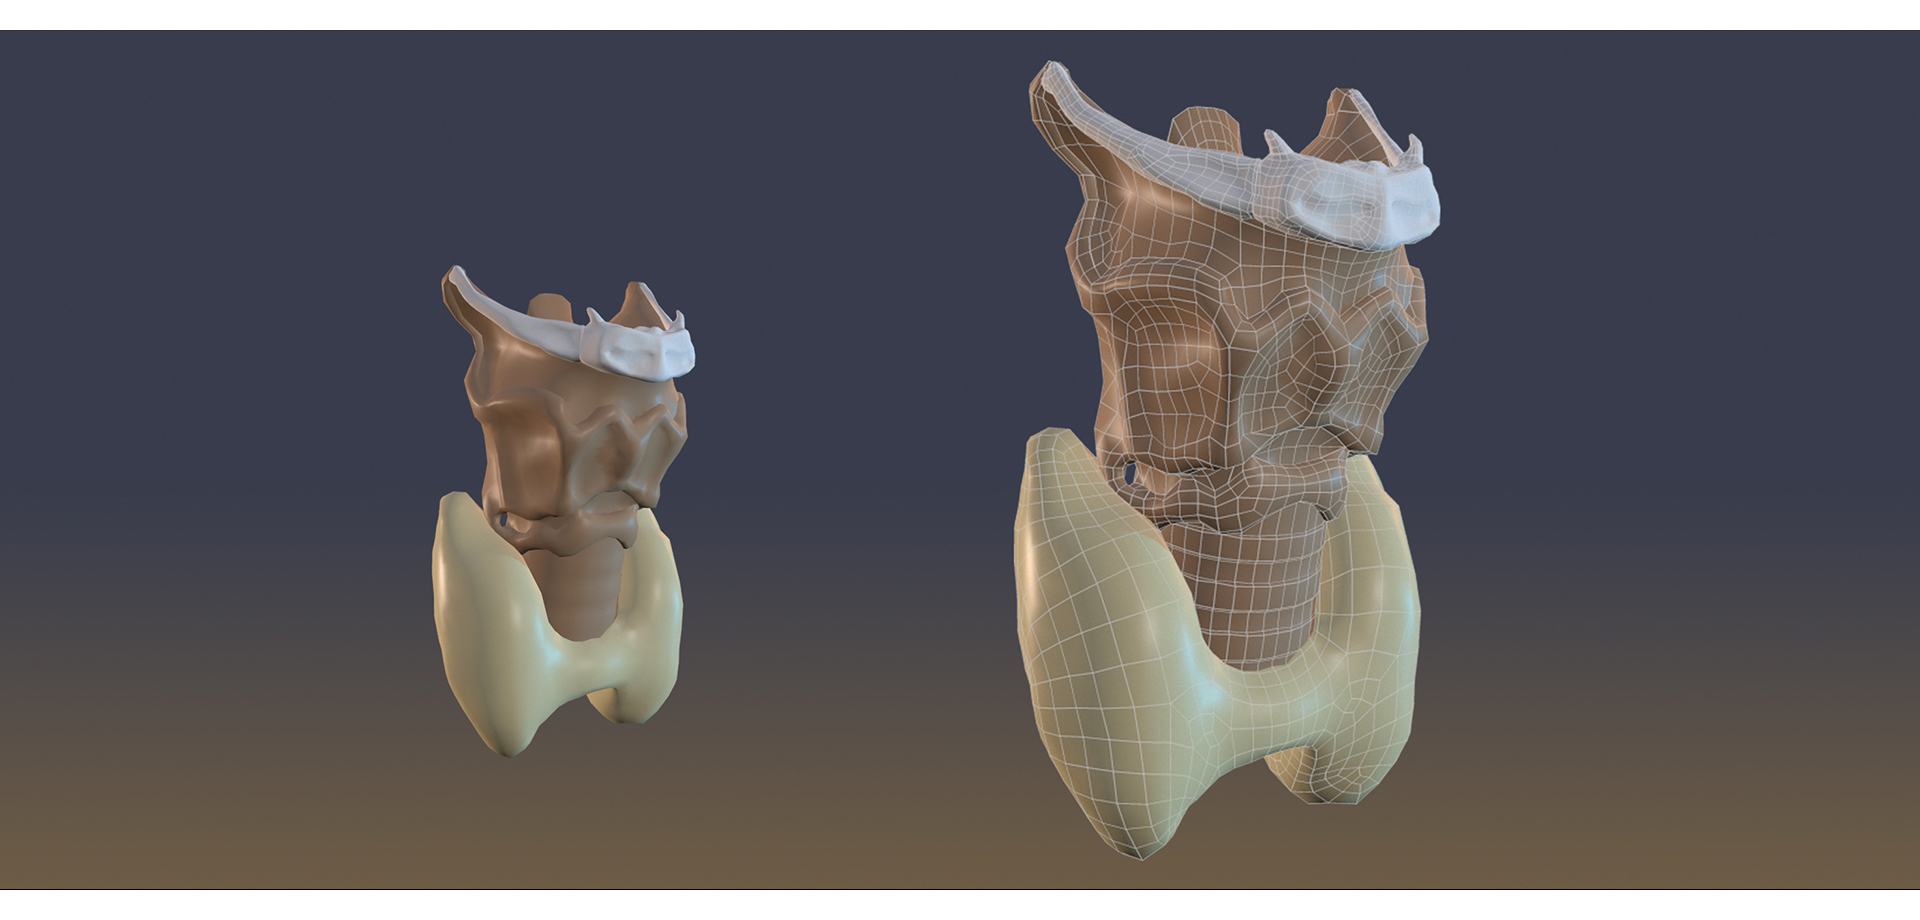
In preparing the model we sculpted the body anatomy and individually modelled nearly 15 bones and organs. Mapping of the injuries was done with the NURBS Curve tool in Maya that allowed us to draw injury shapes in 2D and split the 3D mesh according to the curve. Furthermore, texturing was another important aspect in this case. The textures were painted in MudBox using the photographic evidence as reference along with semi-realistic texture adaptations to omit the shock value of the original photographs. These textures were applied injury after injury on the cutout shapes that indicated the effected anatomy. The final output was initially to be presented in a 3D PDF as in previous cases, however, given the textured data and complexity of the injuries, the model was too heavy to operate in this way. The results were unappealing in appearance and the annotations based on the postmortem injury list were difficult to insert given that any reexporting of geometry would mean that the annotations would also need to be relabeled. Based on this we started to think of other presentation methods.

The solution we found to correct the issues found in the 3D PFD was developing a model viewer in Unreal Engine. Traditionally used as a game engine, CIMS has utilized the engine’s real-time rendering capabilities for many architectural visualizations and construction applications. Essentially, we were able to use the default product viewer template but modify it to suit our needs by adjusting the existing set of Blueprints it came with. Blueprints is Unreal’s node-based visual programming language. We added created a material to adjust all textures simultaneously and were able to refine movement controls to constrain the users focus to injuries. A lot of this was done in Blueprints by linking controls easily to the user interface. By listing all of the features needed in how a jury may need to interact with the model, the UI was created more systematically and efficiently than what could be provided in a 3D PDF.
